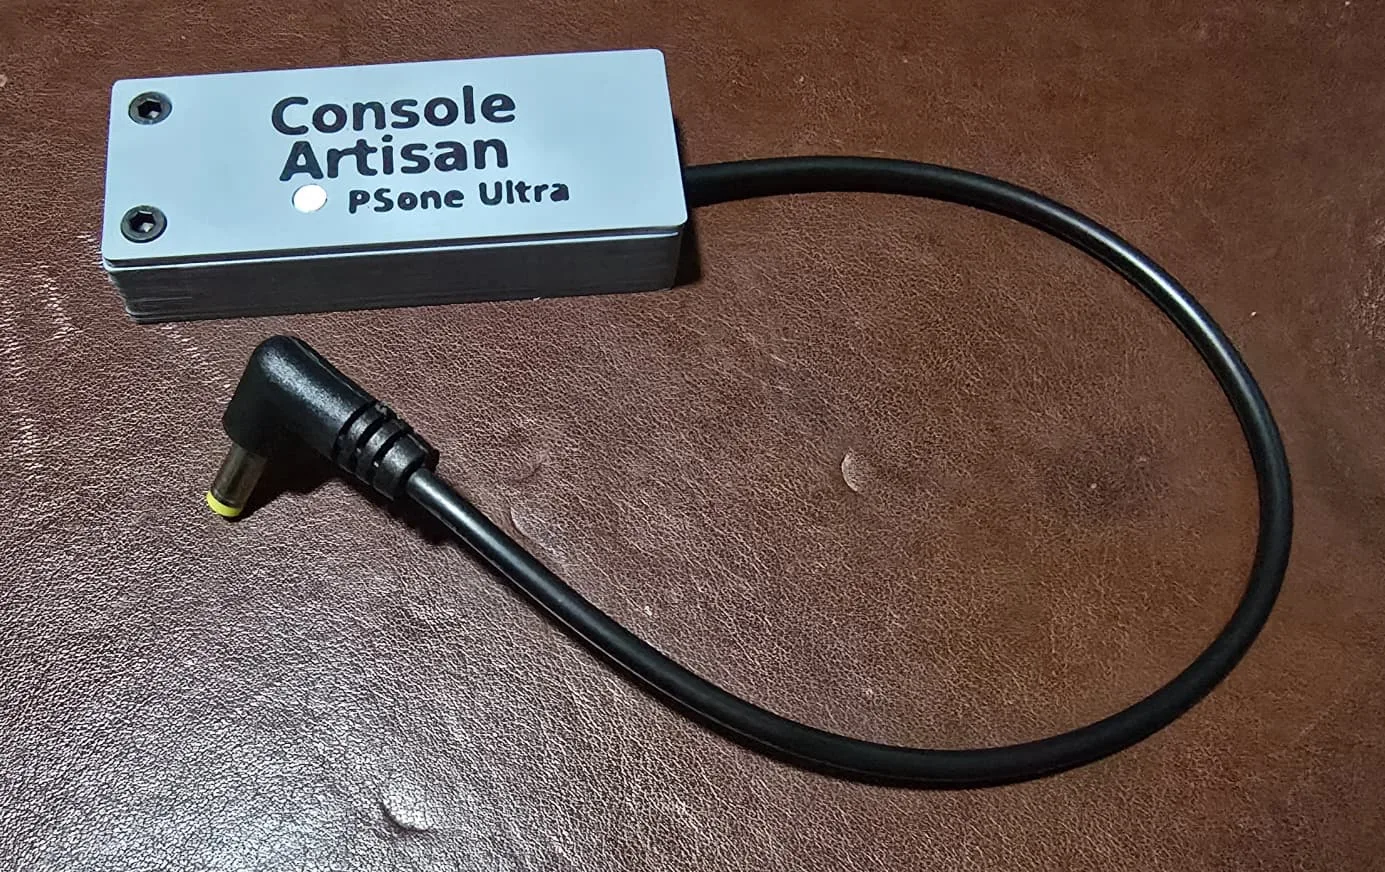
USB-C Power Supply for Sony PSone: Run the Console AND Its LCD Screen (PSone Ultra)
The only USB-C supply built to carry a PSone and its clip-on screen together. USB-PD 15V in, regulated 7.5V at 2A out. Built to order.
Power your PSone and its LCD screen from one USB-C cable
The original PSone power supply is a thirty-year-old wall wart, and if you want to use the clip-on LCD screen you need the higher-current version of it, which is harder to find and no younger. This is a brand-new, hand-built replacement that runs the whole setup from modern USB-C.
Any USB-C PD source rated 30 W or better will run it, which covers most phone and laptop chargers, GaN bricks, and power banks in that class. Plug it into a bank and the console and its screen run off the battery.
I built the first one because a customer asked for it. Every other adapter in my lineup is sized for a console alone. This is the first one rated to carry a console and a screen at the same time, and that turned out to need a completely different design.
Why this one is different
A PSone on its own draws about 1 A. Add the LCD screen and it roughly doubles. That sounds like a small change and it is not: 7.5 V at 2 A is 15 W out, and an ordinary non-PD USB-C port tops out at 15 W in. There is no headroom at all, so a simple adapter physically cannot do it.
So this one negotiates 15 V over USB Power Delivery and steps it down through a proper synchronous buck converter. That is why it needs a real PD charger, and it is also why the output holds steady whether you are running the console by itself or the console and screen together, instead of sagging away as the load comes on.
What is inside it
The regulator is a Pololu D36V28F7. Built in-house at Pololu’s own Las Vegas facility, around a Vishay SiC473 controller. From a 15 volt input it will deliver more than 3.5 amps against a job that needs 2, so it is never near its limit.
The headroom is the part people notice, but the protection set is why it is in there. It soft-starts, which limits the inrush surge when a CD spins up, and it has over-temperature and reverse-voltage protection underneath that. A cheap module has none of this, which is the difference between a converter that shuts down and one that fails.
The USB-C side is a CentyLab PPSTrigger V1.2, from a small shop in Salem, Oregon, strapped to ask for a fixed 15 volts.
And you can watch it negotiate, without any of my equipment. The LED on the lid comes on dim when you first plug the USB-C cable in, running on the 5 volts every port hands out before anything is agreed. When the 15 volt contract lands, it visibly brightens. If it lights and stays dim, the negotiation did not go through and your charger is the problem, not the adapter. The catch is that it is the change you are reading: come back an hour later and a dim LED and a bright one are hard to tell apart with nothing to compare against.
The case is printed in ASA, not PLA and not PETG. ASA is what outdoor gear gets made from. It holds its color and its strength under UV instead of going yellow and brittle, which you may have opinions about if you have looked closely at the console this plugs into.
Why this one costs more than my other adapters
Because the cheap way does not survive, and I tried it first.
I started with a passive design. It was electrically perfect on the bench and then hit 113 C sealed inside a case, hot enough to soften the plastic. I tried two inexpensive buck modules after that. One had a controller I could not even identify, which means it can never be reliably qualified for current or heat. The other fell out of regulation under exactly the load this adapter is built for, sagging to 6.5 V, because its inductor saturates and gets worse as it warms.
A rating on a cheap module describes the chip on it, not the module. I have had “3A” boards trip at 750 mA.
The same goes for the USB-C side. The common trigger board costs about a dollar and boot-loops on a popular multi-port charging station, which I reproduced on my bench against the board I actually ship.
So the parts in here are the ones that survived, and the reason I can tell you that is that I broke the others myself.
What you need
Any USB-C PD source rated 30 W or better. The USB-C specification only guarantees a 15 V option on chargers above 27 W. Below that a charger is perfectly within spec to offer nothing higher than 9 V, and plenty offer nothing but 5 V. A 20 W phone charger is not a small charger for this job, it is the wrong kind of charger.
Any 60 W or 100 W USB-C cable is fine.
Sources that will not work: a laptop’s own USB-C port, a USB-A port with an adapter, a car USB socket, an airline seat power port, and most older or budget power banks.
Running on a battery
Any bank that offers 15 V is by definition rated above 27 W, so unlike my 9 V adapters there is no separate worry about whether the bank can carry the current. If it can offer the voltage, it can supply the load.
| Bank | Console and LCD, about 15 W | Console alone, about 7 W |
|---|---|---|
| 10,000 mAh | roughly 2 hours | roughly 4 hours |
| 20,000 mAh | roughly 4 hours | roughly 8 hours |
Check the bank’s wattage and not just its capacity. Plenty of large banks are only rated for 18 W.
Built to order
I build these on demand rather than keeping a shelf of them, so allow one to two weeks. I hold the parts, so that is build and test time rather than waiting on anything to arrive. Occasionally I will have a finished one on hand, in which case it ships straight away.
Each one is printed, wired, assembled and run under load by me, in my garage. There are very few of them in the world. Order one and I build one.
The gory details
Why a fixed 15 V and not an adjustable request. A trigger that asks for an adjustable voltage can end up on a current-limited contract when the charger would happily have given it a full fixed one. Asking for the fixed profile by name is the whole reason this works on chargers that defeat cheaper adapters.
Why the converter is bigger than it needs to be. 2 A is the requirement and the board will do more than 3.5. Derating is not a luxury here: a converter run near its ceiling gets hot, and a hot converter gets worse, which is precisely the failure mode that killed the cheap module I tried.
It runs warm, and that is correct. Any converter doing real work turns some of it into heat. The case gets distinctly warm in your hand under a full load and it cannot burn you, because plastic is an insulator and moves heat into your skin far too slowly to do harm. What it does need is air. Do not run it sealed in a bag or buried under anything.
Other adapters in the lineup: the PS2 Slim Ultra does the same trick at 8.4 V and 48 watts for a PlayStation 2 Slim, and the Game Gear and TurboExpress dongles handle the handhelds.
What you get
One tested adapter, built and checked by me. No charger, cable, console or screen is included.
Specifications
| Compatibility | Sony PSone (SCPH-101), including use with the SCPH-131 clip-on LCD screen |
|---|---|
| Connector | EIAJ-03 4.75 x 1.7 mm barrel, center-positive, right-angle |
| Enclosure | Printed in commercial-grade ASA (UV-stable, will not yellow or go brittle), captive nuts, internal strain relief |
| Included | One (1) tested adapter, built to order. No USB-C charger, cable, console or screen. |
| Input | USB-C Power Delivery, fixed 15 V. Requires a 30 W or larger USB-PD charger or power bank. |
| Output Voltage | 7.5 V regulated, up to 2 A (15 W), enough for the console and the clip-on LCD together |
| Topology | CentyLab PPSTrigger V1.2 set to a fixed 15 V, feeding a Pololu D36V28F7 synchronous buck converter (Vishay SiC473, soft start, over-temperature and reverse-voltage protection) |
Similar items
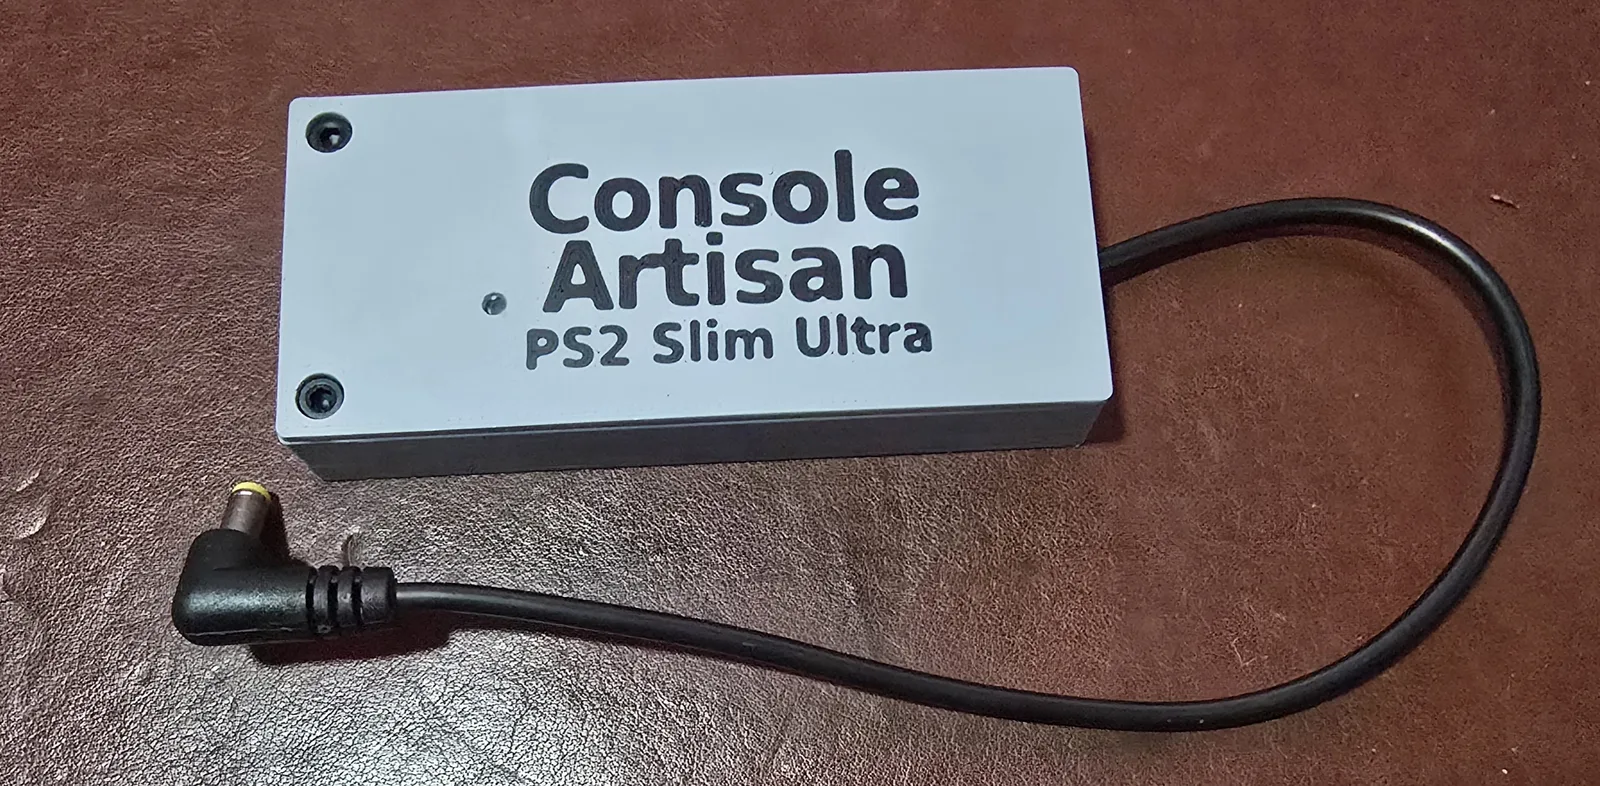
USB-C Power Supply for PlayStation 2 Slim: Run a PS2 From a USB-C Port or Battery (PS2 Slim Ultra)
48 watts out of a USB-C cable. USB-PD 20V in, regulated 8.4V at up to 6A out. Built to order, one at a time.
$180.00
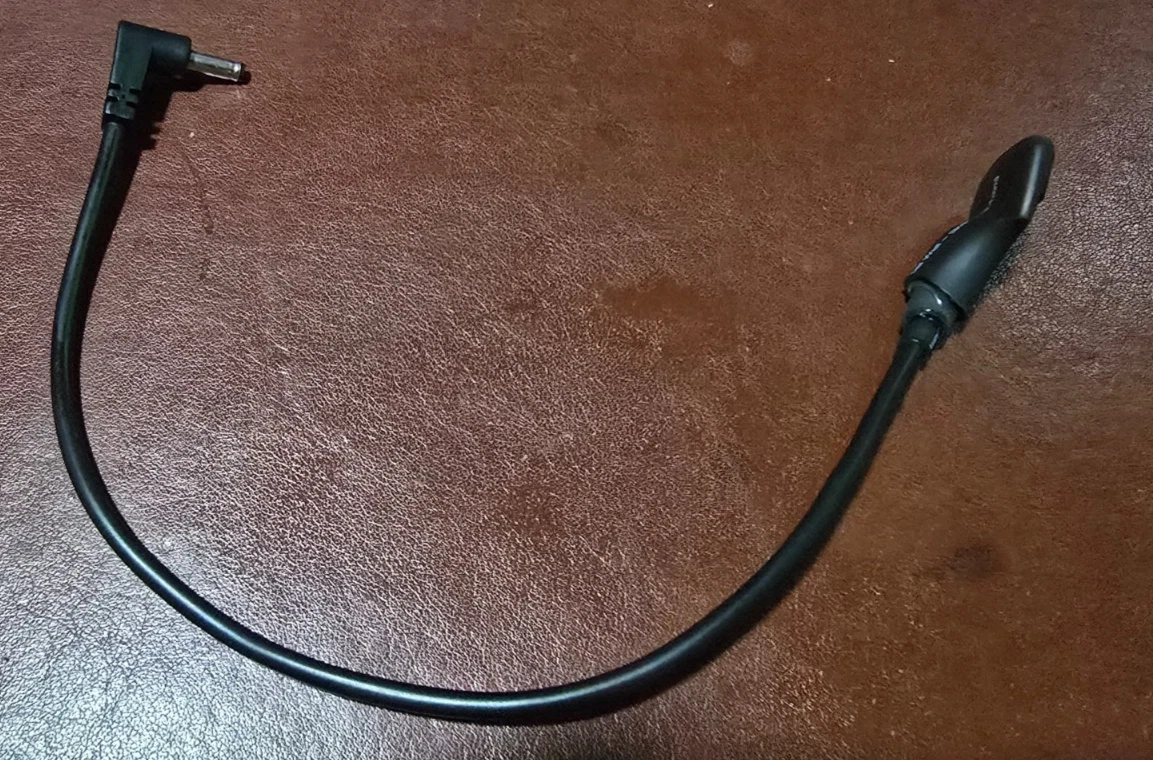
Prototype USB-C Power Adapter: Sega Game Gear or Nintendo Game Boy (Working Seconds)
Fully working early-build dongles from surplus stock. Looks vary (heatshrink or an early case), function is identical.
$10.00 (plus 1 other variant)
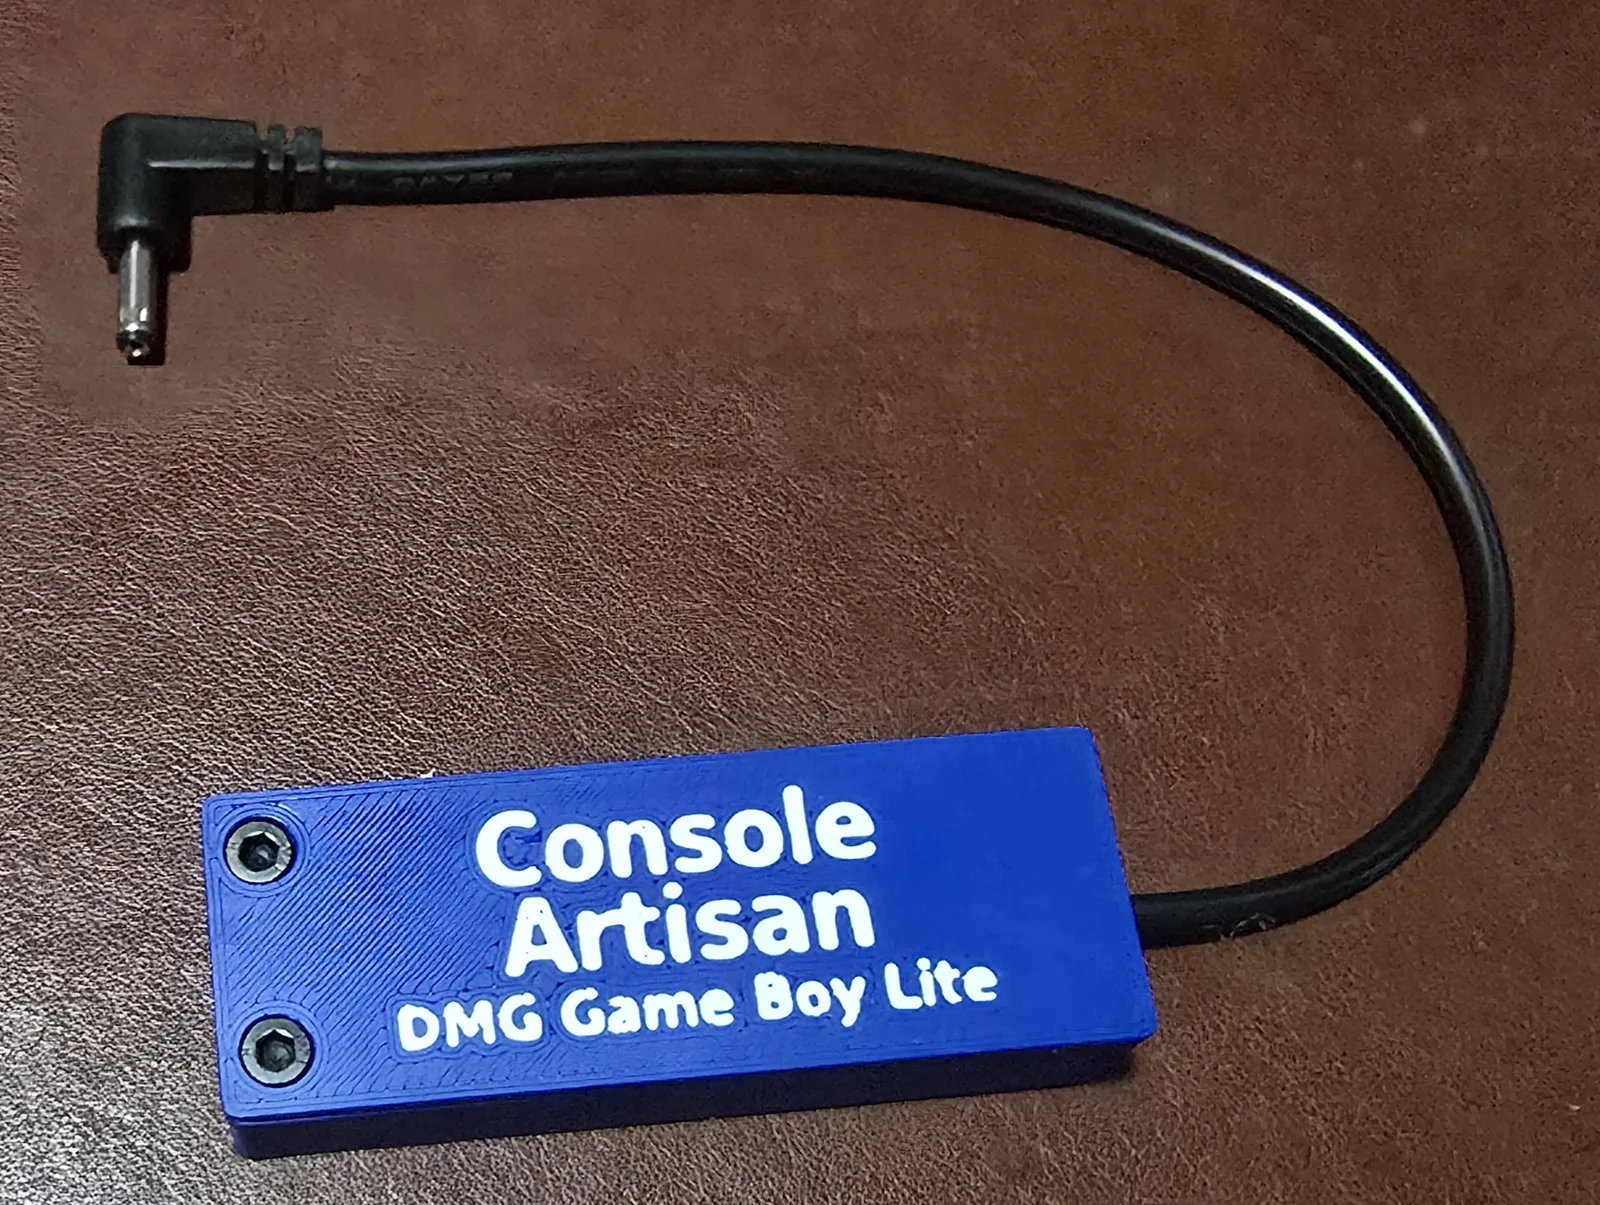
USB-C 5V Power Adapter for Original Nintendo Game Boy (DMG-01) (Lite)
Hand-built and enclosed. Runs on any 5V USB port. No USB-PD required. The simple, best-value way to power a DMG.
$20.00
USB-C 6V Power Adapter for Original Nintendo Game Boy (DMG-01)
Hand-built, enclosed, and labeled. True factory 6V from any 5V USB port. No USB-PD required.
$30.00